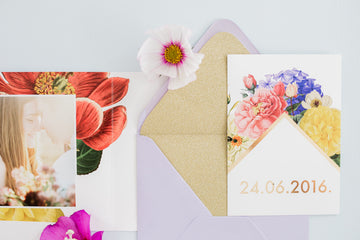
In this blog I show you how I made the envelope liners for my own wedding cards. It's been over a year since I got married. I had designed a wedding card before and of course I wanted to design our own too! My goodness, think about it again before you design a card for yourself. It is very difficult to choose one thing for yourself. Before I arrived at this design, several designs were discussed. In the end I was very happy with the result and a year later I still think it is a beautiful card. 


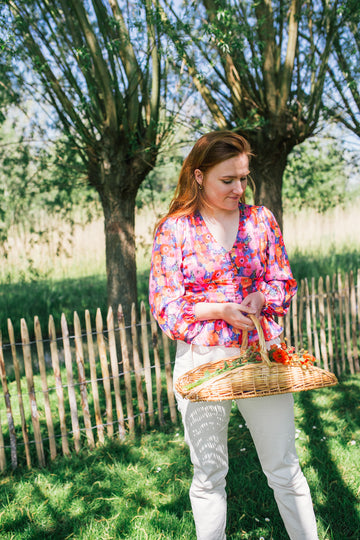
Our wedding was a great source of inspiration for Splendith. I wanted to make the large flowers to decorate our location and of course I was going to calligraph my envelopes myself. Once everything was in, the roll of glitter wrapping paper smiled at me: this was perfect for the envelope liners. The wedding cards had already taken quite some time, so I had some doubts. I told myself: then you do it with a few cards. Before I knew it, the entire roll was cut up and I started gluing. In the end it wasn't too bad in terms of work and it really gave the invitations something extra. It felt like a super festive invitation that way. Exactly what you want on such an occasion, right?

Let's get started!
Supplies:
- Envelopes
- Use an A4 sheet as a template, do not cut it from cardboard that is too thick.
- Double-sided tape
- Pair of scissors
- Paper for the lining (use thin paper for the best result)

Step 1: Make the Mold
Place the envelope on the A4 sheet and then trace it. Cut it out. Then cut away the height of the adhesive strip at the bottom of the mold. Check whether the template fits properly in the envelope and trim it slightly if necessary.

Step 2: Make the Liners
Use the template to draw the linings on your paper and then cut out the linings.

Step 3 Tape the envelope liners in place
Stick two strips of double-sided tape on the inside of the envelope. I deliberately only tape them at the top, so that the lining has a little slack downwards. Slide the lining in, then remove the protective layer from the tape so that you stick the lining in place. Then fold the paper onto the folded edge of the envelope. This way the lining stays in place nicely.
That's it again! Are you also going to try feeding an envelope? I'm curious about your results! 
Do you have any questions? Please put them in the comments!
Love,
Judith
