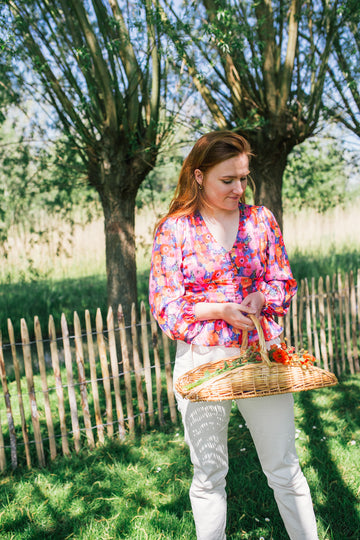
Perhaps you have already seen different materials for making stamps? In any case, I notice that you are making a lot of stamps and prints. Super awesome! That makes me very happy. I try to expand the materials further and further, but of course I want to keep the standard high. So materials should definitely earn their place ;). If you are missing specific materials, let me know and I can see if they fit the shop's range.
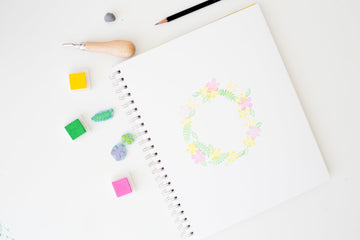
I used the following materials to make this print
- Versacolor Fresh Green, Orchid, Lemon Yellow
- Abig Stempelguts
- Factis Carving block
- Mixed Media block from Strathmore
A small explanation of the stamp materials
I am often asked what the difference is between the Versacolor and Versacraft. In short, Versacolor is available in more colors and Versacraft is waterproof. At first there was a small price difference between the ink pads, but they are now both the same price at €2.10. The Abig stamping gouge has a great price-quality ratio and has a nice grip. The Factis Carving blocks are of the same quality as the SpeedyCarve blocks from Speedball but just a lot cheaper :). And finally: the Mixed media block from Strathmore has a fine surface (vellum, so smooth) for printing the stamps.
This is how you make your own stamp
I have written a blog before, where I really explain all the basics of how to make a stamp. So in this blog I want to go into some details a little more and show a new idea.
Before you start carving, first draw (in mirror image) what you want to have left. So leave what you want to stamp and remove the rest around it with the gouges. I thought it would be fun to make a 'wreath' with flowers this time. This required leaves and flowers, so I drew those out first. When drawing, always keep in mind that you have to draw it in mirror image, because when you print it on the paper: it will eventually turn out well on the paper. If you haven't done it that often, make it easy on yourself and draw something where the mirror image is not so important.
Then I started carving. As you can see in the photo, there are several gouges included with the set. The gouges differ in 'convexity', so one can go deeper than the other. It is useful to have these in the same set, because for some details and corners it is easy if you can go really deep. And always use the gouge away from you and pay attention to your fingers, they are still blades you are working with. Once you have finished gouging, cut out the stamps. It's easiest to do that when you've already finished gouging. Then you have the most control until the last moment. You can simply cut it with scissors, or possibly with a sharp knife.
You can then start the print. Clean the carving block thoroughly so that there are no loose fliebers left on it. It is not good for the prints if you still have pieces of stray carving block in between. Play with the colors and make something beautiful out of it. I had very lightly drawn a circle with a pencil and started voting around it


 You can then write a nice text in it or draw some details, and you're done! Do you recognize that when you're done with something, you want to change all kinds of details? I'm already seeing things that I would like to change, but if I waited until it was completely perfect... It was super fun and relaxing to do, so happy me ;). And it went better than last time.
If you have any questions, ask them in the comments! I would like to help you.
Love,
Judith